 VitaroUNO INDUSTRIAL
Guide
Rooftop Terrace on Pedestals: Design & Installation Guide
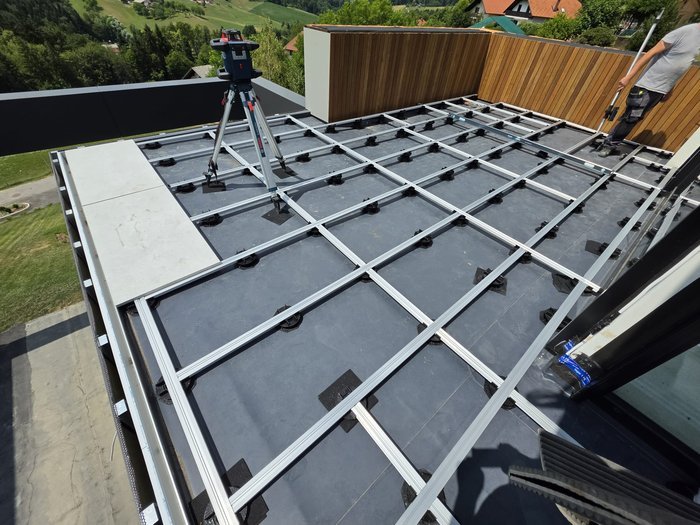
A rooftop terrace on adjustable pedestals is one of the fastest ways to turn an unused roof into usable space — without touching the waterproofing. This guide covers the decisions that make it perform.
1. Protect the membrane
The biggest rule: never penetrate the roof membrane. Pedestals sit directly on the slab or a protection board, so no fixings are needed. Where traffic is heavy, add a rubber pad under the base to spread load and reduce noise.
2. Lay out the pedestal grid
Spacing depends on what you lay on top:
- Joisted timber/composite deck: pedestals under each joist, typically 400–600 mm apart.
- Tiles / paving slabs: a grid matching the slab size (e.g. 600 × 600 mm slabs → pedestals at 600 mm centres, often with a 4-pedestal cross coupler).
Set each pedestal's height with the rotary ring, then lock it. The HE Series (25–392 mm) suits large podiums; the B Series (20–260 mm) is the cost-effective default.
3. Handle slopes with self-leveling heads
Roofs fall to drains. Rather than packing shims, fit a self-leveling head (±5°) that tilts to the substrate while the top stays level. This is the single biggest time-saver on pitched roofs.
4. Keep drainage clear
Because the floor is raised, water and services run underneath. Keep pedestals off the roof outlets, and leave access to inspection points. The open void is also where you route cables and irrigation.
5. Step-by-step installation
- Confirm the finished floor level and measure build-up height.
- Mark the pedestal grid on the roof.
- Place pedestals; fit self-leveling heads on slopes.
- Set and lock heights with the rotary ring.
- Lay joists, tile couplers or slabs on top.
- Check levels, then trim perimeter pieces to fit.
For low build-ups (balconies, fine paving), the F Series (20–185 mm) is the compact choice. See Applications for more project types.